Owl Applique (Step-by-Step and Free Pattern)

*If you’re new to appliqué be sure to check out this Appliqué 101 post for extra tips and instructions.*
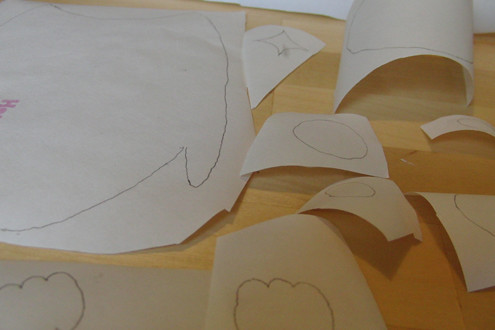
1. Start by tracing the pattern (provided below) onto your adhesive paper (Heat n’ Bond lite was used for this project) and cutting apart pattern pieces.
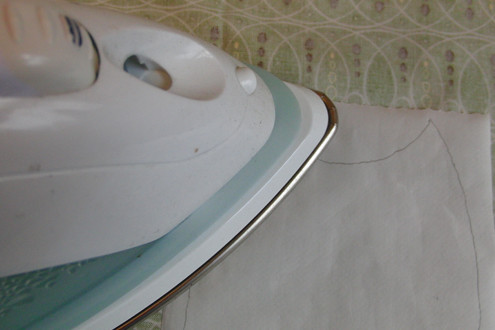
2. Place your adhesive paper cutout on the back side (wrong side) of your fabric and press with an iron for about 2 seconds. Then cut along the lines of the traced pattern pieces.
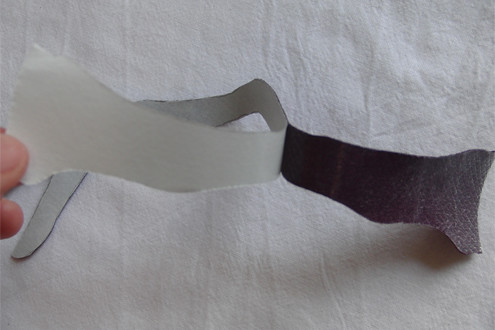
3. Peel the paper backing from the fabric pieces.
4. Layout the design before ironing. For this project I embellished a tea towel. Since I wasn’t too concerned about the placement being exact, I just folded the towel in thirds and eye-balled the design placement onto the front of the towel. If you’re embellishing a child’s shirt, a pillow, or something where you want the placement to be precise, use a ruler and mark where the design should go before ironing.

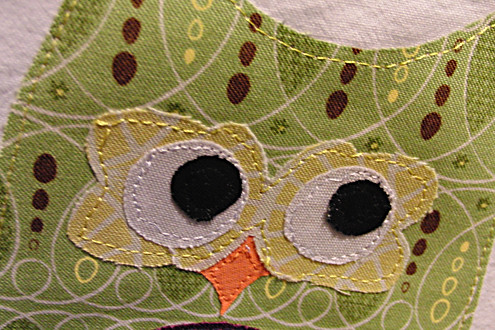
5. Iron the pieces into place (follow the time recommendation on you adhesive paper instructions). Be sure to iron the beak on before the eye mask – that way you can layer the mask on top of the beak.
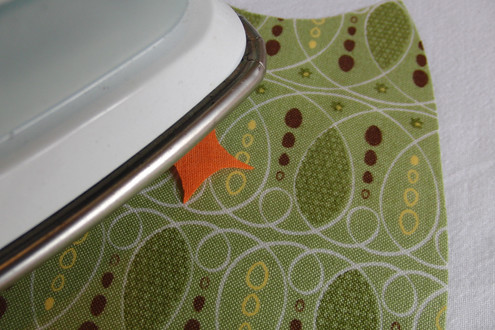
6. Consider the personality of your owl before ironing the eyes.

7. Sew along the edges of every piece. After washings and normal use the adhesive paper may lose its stickiness, so be sure to sew through each individual pattern piece.
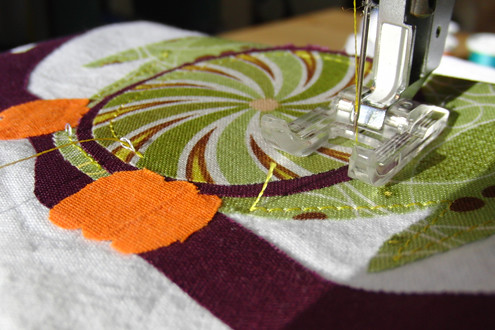
8. Depending on the look you desire, you can use matching or contrasting thread when sewing.
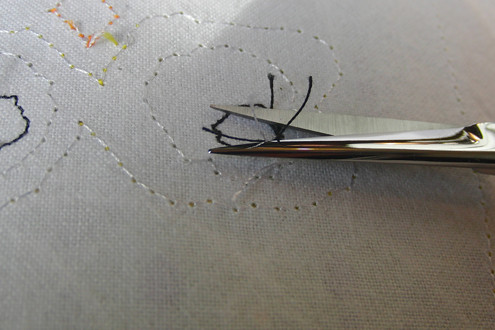
10. Snip all the loose threads on the back and front of your design.
11. You now have a completed owl!
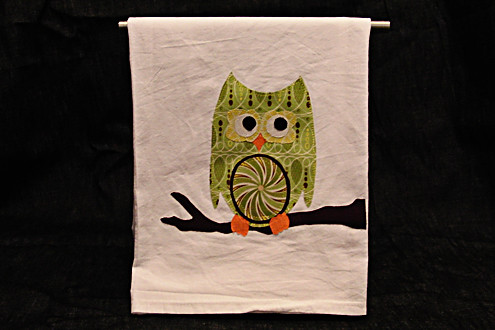
Not only does this project leave you with an adorable owl, but it only takes a couple hours to complete – great for last minute gifts.
Click to download your free pattern:

If you have any questions, leave a comment and I’ll be happy to help out. Also, be sure to subscribe so you don’t miss any projects, patterns or freebies.
Very cute. I wish I can make something like this too.
ReplyDeleteThanks a lot for sharing.
Zia
You won't believe this San Antonio TX Mesothelioma Lawyer